Myst III: Exile Walkthrough by Bert Jamin, part 2 of 6

Written by Bert Jamin
June 2001
This walkthrough is dedicated to my dearest
friend Witchen =O
Click on one of the books to go to that chapter,


or click on the book at the bottom of this page to go to the next chapter.
Chapter 2, J’nanin – The Learning Age
After your joy flight around the island
you’ll see mister weird running away across the footbridge. Go after him across
the footbridge, go up the steep rock and across the next footbridge leading to a
kind of observatory. Look through the window of the door to see mister weird
walk around inside the building. Try to open the door. Damned… closed!
Turn around and walk back across the
footbridge. Use the ladder leading down the rock. Next to the bent footbridge
you’ll see another ladder leading down to the beach.
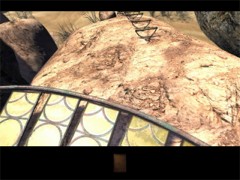
The ladder down to the beach
Go down the ladder and turn
to the right. Walk straight ahead until you can’t go any further. Go up to your
right and walk passed the pole with a yellow lamp on top of it. Walk further
until you reach the broken pole. I wonder who may have done that!?
Keep on walking straight ahead until you
reach the railing next to the path. Just past that railing look down to the
right and you’ll see another stairs leading down. Walk all the way down and you’ll
cross another footbridge. Keep on walking until you pass the Whistling Rock.
Walk down and all the way down you’ll see the Green House.
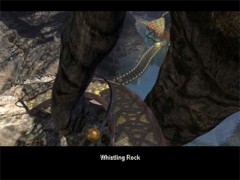
It sure whispers…
Open the door and go inside. Pull the
handle you see to the left. Nearby opens a grated door. Go through that grated
door. Push the round button beneath one of the plants. Another door opens and go
inside.
When you’re standing in that room look to
the right and you’ll see a hammock. Walk to the hammock. Pick up the book from
the hammock and read it. It appears to be the journal of mister weird who set
fire to the house of Atrus at the beginning of your adventure and who stole the
Releeshan book. His names turns out to be Saavedro. Take also good note of the
drawings inside the journal. You gonna need them later on! And believe me this
Saavedro will be a pain in the ass form the very beginning to the end of your
quest…
Look at the play mobile at the right of
the hammock. You can actually play with it. Look to the left and you’ll see some
steps against the wall leading to the center of the room. Walk up the steps
until you’re standing beside the mural painting of the not finished female face.
Turn to the right and walk towards the worktable in the center of the room.
You’ll see some kind of portable
aggregate. Turn the handle and some metal cuttings will rise in the tube to the
right of the aggregate. After that, click on the wires in front of you. By doing
this, the wires will be attached to the roots of the flytrap plant at the left
of the aggregate. Turn the handle once more. The flytrap plant opens and sets
free a fly, which he’s taking back when the power stops.
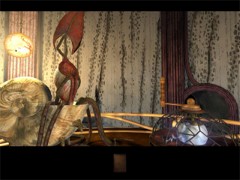
So a flytrap plant doesn’t like electricity!
Look at the scales at the right on the
table. Notice that there are four crystal balls in the right cup and that there
is only one metal ball at the left of the balance. And yet the scale is in balance. So four
crystal balls are as heavy as one metal ball. Now you’ll think: So what? Well
believe me, you’ll find out…
Walk passed the left side of the table.
Now you are standing to the left of the hammock. Here you find another scale.
In the left cup there’s one crystal ball and in the right cup there are four
wooden balls and again the scale is in balance. So four wooden balls are as
heavy as one crystal ball. You can also take a look at the cupboard with the
blue highlighted ball.
Turn to the left and you’ll see something
that looks like a wooden cage. Walk to that cage and you’ll soon find out that
this isn’t a cage but an elevator. Walk to the passage behind the elevator. When
you’re standing near the light on the wall, turn to the left and you’re facing
the elevator’s door. Open the door and enter the elevator. Pull the switch.
There’s only one switch in the elevator so you hardly can’t miss… If you
pulled the right switch, you’ll go up. There you’ll see Saveedro wandering about.
You’re just in time to see that he locks away the Releeshan book into some kind
of cage.
Open the elevator’s door and try to open
the next door. Darn… closed! The control mechanism of the elevator needs some
modifications before you can open that door. Close the elevator’s door and push
the green switch. You’ll go down now. Open the door and get out of the elevator.
At the right of the elevator you can see
the external control mechanism of the elevator, which is meant for maintenance of
the elevator. And what you are about to do is uhhh… some corrective maintenance.
When you are standing outside the elevator, pull the switch of the external
control mechanism and the elevator goes up again. Step into the elevatorshaft.
Look around and you’ll see four different
instruments. One with three small weights, one with a mechanism that can turn
around, one that seems to be a switch and one that has two wheels. We are going to start with
the instrument with the three weights. Click twice on the left weight and twice on the right weight. Leave the middle one alone!
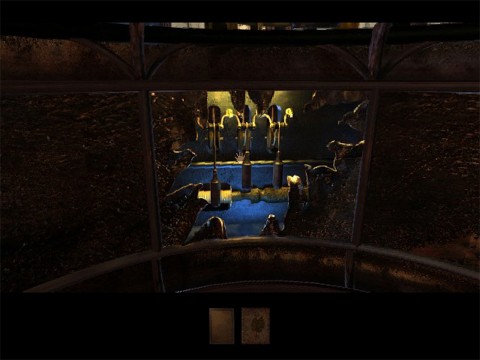
It should look like this now…
Now we are going to correct the mechanism
next to the right. You are facing a kind of cylinder with three rings at the
center. Click on the three rings so the cylinder turns around. Click on the
central copper-colored part of the mechanism. By doing this the mechanism turns
to the right. Click once again on the three rings of the cylinder. After that
click once more on the copper-colored center part of the mechanism. Leave this
cylinder alone!
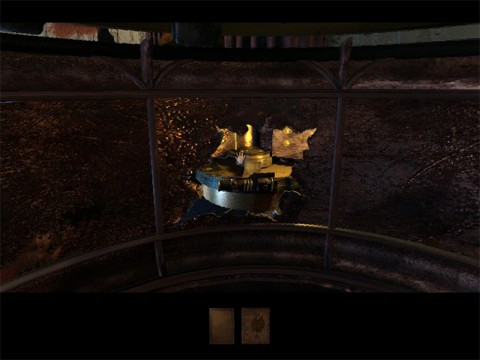
It should look like this now…
The next one is a piece of cake. Click
once on the switch. It will move towards you.
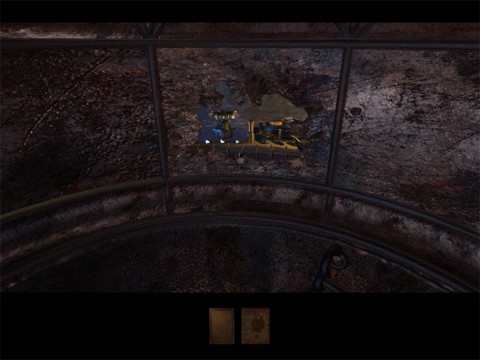
It should look like this now…
The next one is also very easy. Take a
good look and you’ll notice that the left wheel has a gap. Turn the left wheel
until a cog of the right wheel fits exactly into the gap of the left wheel.
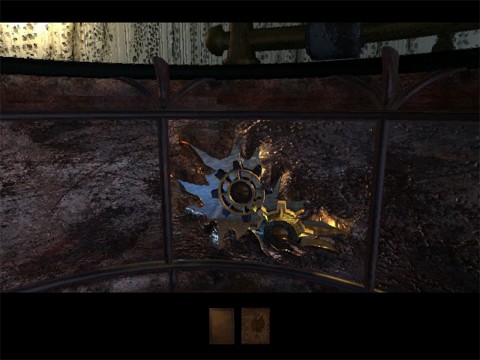
It should look like this now…
Climb out of the shaft. Walk to the
external control mechanism at the right of the elevator door. Pull the switch to
call the elevator. Step in and pull the switch in the elevator. When the
elevator stops, open the first door and then the second one and get out. Turn to
the left and walk two steps forward. Turn to the right and push the big blue
button. By doing this, you open three telescopes on the wall and you get a
message displayed.
The first message is from Atrus to both
of his sons, which will be interrupted by Saavedro. He tells you that you need
three codes to open the safe with the Releeshan book. The good news is that he
changed those codes. You’ll have to find out the correct codes…
Turn around and walk to the nearest
telescope, the one at the right of the elevator. Look through the telescope and
you’ll see a symbol printed on the lens. This symbol looks like a wing and is
the sign of the Voltaic Code. In the distance you’ll see a tower. On that tower
you can find the same kind of symbol. By moving your cursor on the lens, you can
move it up and down and from the left to the right. By using the left handle of
the telescope, you can zoom in on the tower. And by using the right handle you
can focus on the symbol.
The aim is that the symbol on the lens
and the one on the tower exactly fit together. Notice that when you zoom in on
the tower, the dots on the four rings of the telescope are moving around. These
four rings has some notches. If you compare these notches with a clock the
notches are placed on 12 o’clock, half passed 1, three o’clock, half passed 4, 6
o’clock, half passed 7, 9 o’clock and half passed 10.
When you did everything alright at this
telescope, the dots should be placed as follows:
The Voltaic Code:
The dots on the outside ring: between 6
o’clock and half passed 7
The dots on the second ring: at 9 o’clock
The dots on the third ring: at 6 o’clock
The dots on the inner ring: at 3 o’clock
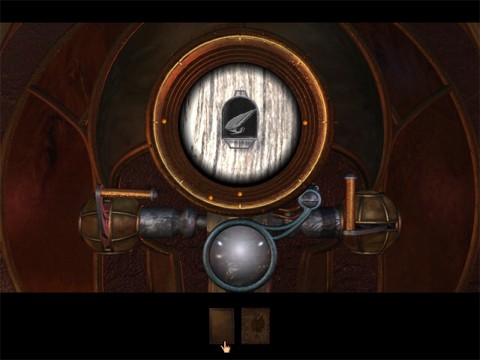
The Voltaic Code
Remember this code because you gonna need
it later!!!
After that go to the telescope at your
left and do the same trick with the symbols. The symbol of this telescope looks
like a circle and is the sign of the Amateria Code. If you did everything
alright the dots should be placed as follows:
The Amateria Code:
The dots on the outside ring: between
half passed 10 and 12 o’clock
The dots on the second ring: between half
passed 2 and half passed 4
The dots on the third ring: at 6 o’clock
The dots on the inner ring: at 9 o’clock
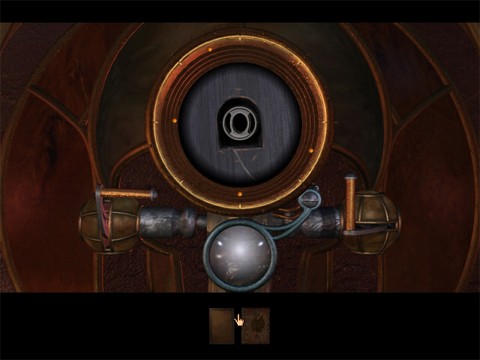
The Amateria Code
Now go to the other telescope at the left. Do the same trick again. The symbol on this telescope looks like a bird
and is the sign for the Edanna Code. If you did everything alright the dots
should be placed as follows:
The Edanna Code:
The dots on the outside ring: between
half passed 10 and 12 o’clock
The dots on the second ring: between half
passed 7 and 9 o’clock
The dots on the third ring: at 6 o’clock
The dots on the inner ring: at 7 o’clock
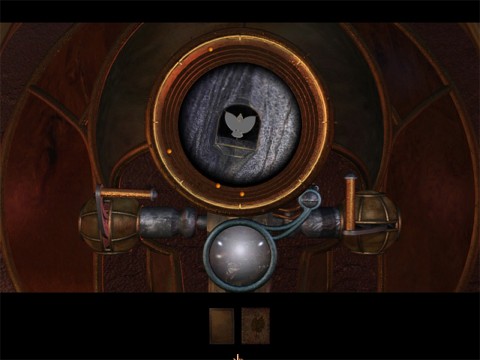
The Edanna Code
When you’re done with all telescopes walk
to the elevator. On your way to the elevator pick up some missing pages for Saavedro’s journal! This time don’t enter the elevator but pull the switch next to the
elevator. The elevator will go down and reveals the door behind the lift-shaft.
Click on the door to open this second door.
Now you’ll see the locking mechanism on
the left side of that door. Click on the left dark part of the lock to unlock
that door. Open the door and step outside. You are now standing on the
footbridge where you was standing in front of the closed door at the very
beginning of this episode.
Look to the right and you’ll see the
tower where you are heading first. Walk to the end of the footbridge and climb
down the ladder. Climb down the ladder to the beach. Walk to the right and keep
on walking until you are standing near the pole with the yellow lamp. Look to
your right and you’ll see two strange devices. Walk to those strange devices and
you’ll see a third device standing in the ocean.
The left device looks like a big fan. The
device in the middle seems to be a wheel and the one in the ocean looks like a
huge mushroom. Turn the wheel until you see the sunlight being reflected by the
device in the ocean. Look at the left device. You’ll see that this device is
sending on the sunlight.
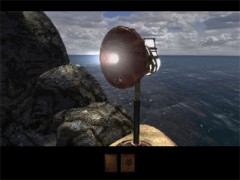
The sun beamed through
Turn around and walk to the pole with
yellow bulb. Look through the glass. Now you’ll see the broken pole. Zoom out
and turn the wheel beneath the upper part of the pole once. By doing this the
upper part will turn one stroke. Look through the glass one more time and now
you’ll see a pole with a blue bulb. Zoom out and you’ll see the sunlight being
passed through.
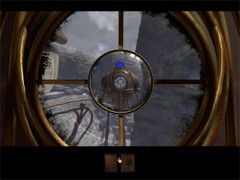
The first yellow headed pole in the correct position
Turn around and go down. Make one step to
the left into the direction of the beach. At your left go up the ladder and walk
to the pole with the blue bulb. Look through the glass and you’ll see…
nothing! Turn this pole one stroke. Look through the glass and you’ll see a pole
with a green bulb in the distance. Zoom out and you’ll see the sunlight being
passed on to the left.
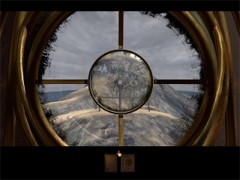
The blue headed pole in the correct position
When you look to the left you’ll see that
pole far away. Climb down onto the beach again. Standing on the beach go to the
left. Walk to the end of the beach. Don’t climb the ladder this time but walk
straight ahead across the stones in the water. Keep on walking straight ahead until you are standing next to a pole with a purple bulb. Don’t do anything yet
with this one.
Look around and you’ll see a pole with a
green bulb. Walk three steps into the direction of the stairs near that green
pole. Turn to the left and look down. Walk down the stairs. Look around and
you’ll see two footbridges in the distance. Walk to those bridges and cross
them.
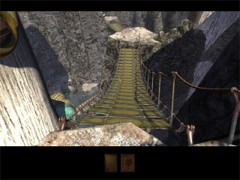
Cross these two bridges to find the pole with the green bulb
Climb up the stairs until you reach the
pole with the green bulb. Look through the glass and you’ll see nothing again.
Turn this pole one stroke and you see the sunlight shine into your face.
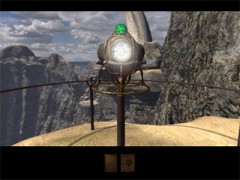
The green headed pole in the correct position
Turn
around and you see a pole with a red bulb close by. Walk to that red headed pole
and look through the glass. Turn this one twice. Again the sunlight is shining
in your face.
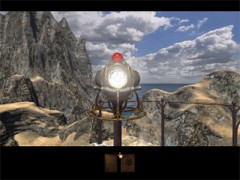
The first red headed pole in the correct position
Walk back downstairs and cross the two
footbridges. Walk to the pole with the yellow bulb, which is standing near the
pole with the purple bulb. Turn this pole with the yellow bulb twice and you are
blinded by the light once more.
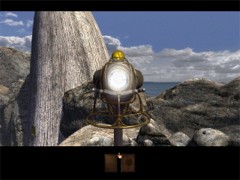
The second yellow headed pole in the correct position
Walk via the stairs to the pole with the purple
bulb behind you. Turn this pole once. Look through the glass and you’ll see that
the sunlight is send to the pole with the red bulb nearby the beach.
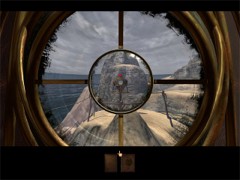
The purple headed pole in the correct position
Walk down at the right of this pole. Cross the
stones in the ocean and head for the beach. As soon as you reach the beach turn
right and climb up the ladder. Walk to the right to the pole with the red bulb.
Turn that pole once and for the last time you’ll be blinded by the light.
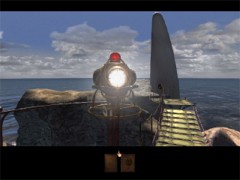
The second red headed pole in the correct position
Climb down the ladder to the beach. Go to
the right and keep on walking passed the pole with the yellow bulb and passed
the broken pole. Your next goal is the ivory tower you see in the distance. Keep
on walking straight ahead until you are passed the railing near the tower. Look
at your right and climb up the stairs to the left. Look around and you’ll see a
color spectrum projected on the door of the tower.
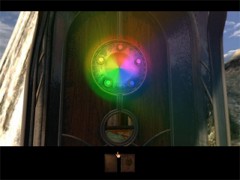
Good job!!!
This is the result of
turning all those poles into the right direction. So if you don’t see this
spectrum, you just didn’t turn the poles in the right directions. Besides that
you can also see the symbol of Voltaic Code above the door.
To open the door you have to push the
buttons in the spectrum. You have to push the buttons in the correct order,
which is the order in which you turned all the poles. In case you might have
forgotten: yellow – blue – green – red – yellow – purple – red. The door will
open now…
Enter the tower and face the brown
column. Zoom in. Now you’ll see four rings and on each ring placed one dot. Of
course this reminds you of the telescopes in the observatory. Above the door
of the tower you’ve seen the Voltaic Sign.
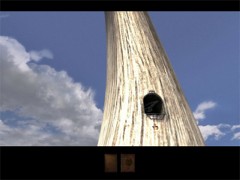
The Voltaic Sign above the entrance
So you know that the dots should be
placed in the order of the Voltaic Code. To help you solve this one:
The Voltaic Code:
The dots on the outside ring: between 6
o’clock and half passed 7
The dots on the second ring: at 9 o’clock
The dots on the third ring: at 6 o’clock
The dots on the inner ring: at 3 o’clock
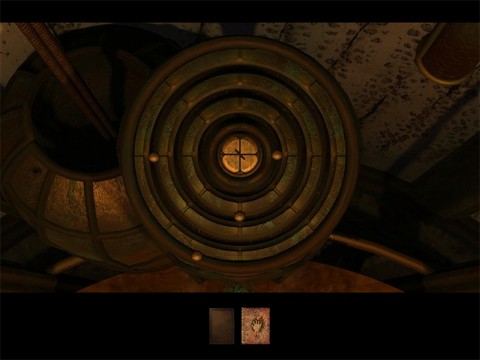
The dots on their correct spots
Click on the center part and the Voltaic
linking book appears. Click on the book and click on the image inside the book
to go to…
…chapter 3
The Voltaic Age – Age of Energy
View this guide raw, exactly as the archive holds it
Parts of this guide
One guide by Bert Jamin, in 6 parts. They read in order, and the part you are on is marked.