Gems of
Darkness
H +
a
Walkthrough by
MaGtRo
March 15, 2001
Prof. Bandham welcomes us, the
new archeologists to the excavation site of pre-Sumerian
civilization that lived 9000 years ago. He gives a copy of his
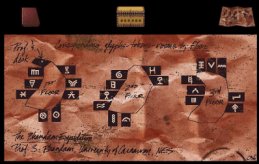
journal (top left of the screen) that contains explanations about
the different puzzles. Read the journal before doing each puzzles.
He also asks us to take a token box (yellow box at top center of the
screen) to place tokens after finishing each puzzle and a map of the
site (top right of screen). The site consists of 3 floors. The
ultimate goal is to decipher the Cipher Table, (located on the right
hallway by the Professor’s desk) using the tokens collected and thus
opening the door to the Treasure of the Kavi.
The puzzles are done in Hard
mode. Clicking on gold bird at the bottom of the screen restarts the
puzzle. A jewel will light up on the token box when a puzzle is
solved and the room cipher token will be found inside the box. The
room cipher token can be obtained by doing only one puzzle but in
most rooms, there is more than one puzzle available for added
gaming. Clicking on a cipher on the map automatically brings you to
that room or you can walk and explore the site. Move forward and let
us start on the first room on the left. Easter eggs are found in
some rooms.
First
Floor
 Complex Complex
Sequential Movement – The object of the puzzle is to move all
the sun to the exit on the extreme middle left bin and all the dots
to the extreme middle right bin. Click/hold to slide dots or sun and
click on or close to rods to turn them. Move sun or dots to their
bin as soon as you can to free space. Easter egg – clicking on the
right side of the entrance to the room shows a
face.
 Picture Picture
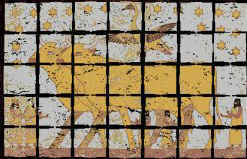
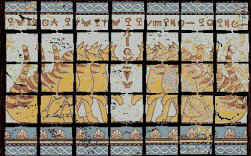
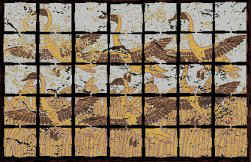
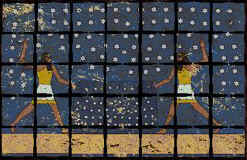
Puzzles – The object of the puzzle is to arrange a picture
that is face down and cut up in 35 pieces. Clicking on a piece
turns it around and click/hold moves it from one place to another.
Pulling the lever in front of the frame changes the picture. This is
a memory puzzle. Try to recall positions of drawings, distortions,
position of stars above and frames on top or bottom. Easter egg –
one of the jugs in the room turns around on duck’s
feet.
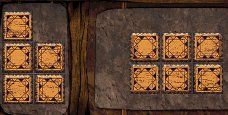
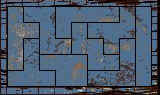
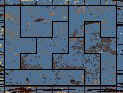
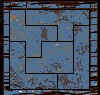
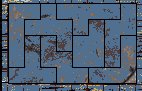
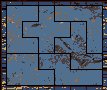
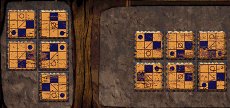
 Polyominoes – These are pentominoe puzzles. The Polyominoes – These are pentominoe puzzles. The
object of the puzzle is to fit the pieces inside the prescribed
area. Clicking rotates a piece (puzzle 1 and 7 only). Solved puzzles
shown are from bottom drawer (1) going up to top drawer (7). Easter
egg – a large boulder on the side of the room lifts
up.
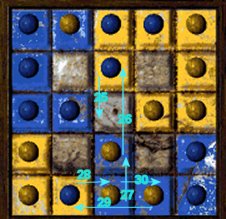
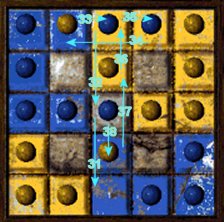
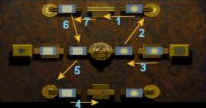
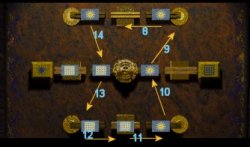
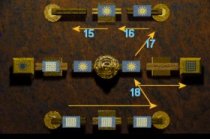
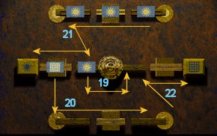
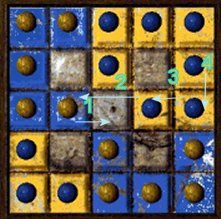
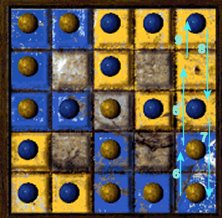
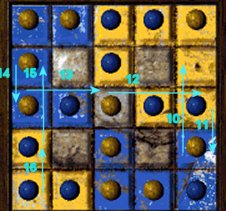
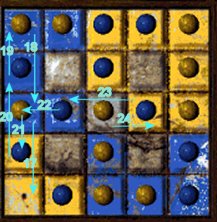
 Exchange – The object of the puzzle is to move the Exchange – The object of the puzzle is to move the
balls to similar colored tiles (blue to blue and yellow to yellow).
In the graphic solution below, move the balls that are in position
at the site at that time. Move forward and click on stacked
triangular stones to access the puzzle. Easter Egg – boulder on
right of puzzle will cause a snake to slither across the
room.
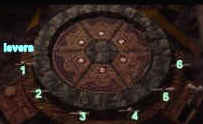
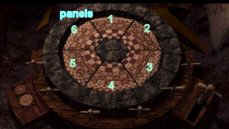
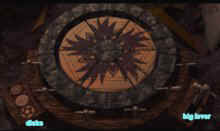
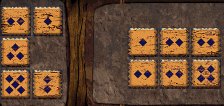
 Arithmetic – The object of the puzzle is to have one Arithmetic – The object of the puzzle is to have one
specific pattern on all 6 panels at one time. The clues to which
patterns are needed for this puzzle are seen in the Maze puzzle on
the second floor and the Logic Passage puzzle on the third floor.
Pulling the big lever on the right after the pattern is obtained
produces a disk. To get the token, 3 specific patterns should be
arranged . 1) Click on lever 6 (rotates all 6 panels) until one of
the needed pattern is seen on panel 6. 2) Click on lever 5 (rotates
panels 1-5) until the needed pattern is obtained on panel 5. 3)
Continue on lever 4/panel 4 to lever 1/panel 1 until all panels have
the same pattern. 4). Pull big lever on the right to get a disk. 5)
Click on lever 6 to get the next needed patterns until the 3 disks
are obtained. Easter egg – a rock on the wall at the back of the
pool reveals a gold pyramid.
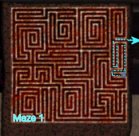
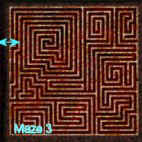
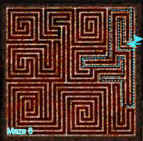
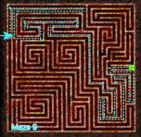
 Mazes – The object of the puzzle is to move the blue Mazes – The object of the puzzle is to move the blue
box from first maze (#1) to the end maze (#9) and join a green box.
Look at all the mazes and examine the entry and exit to see which
ones match. There is more than one way to do this puzzle. Here is an
example – Pull lever 1 (left), do the maze, jump to maze 3 (lever
3), to maze 6 (lever 6) and to maze 9 (lever 9). Easter egg – a
stringed instrument is seen on the left of the room that lights up
red, green and blue.
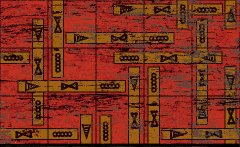
 Pattern Pattern
Grid – The object of the puzzle is to arrange the tiles in an
intricate pattern. Each tile can be moved (click/hold) and rotated
(click). The best way to match tiles in this puzzle is to study the
background pattern. Easter egg – the rock facing the stairs will
start a toy car to drive by.
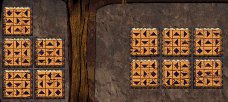
 Sequential Sequential
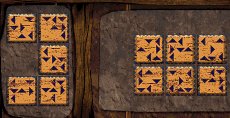
Series – The object of the puzzle is to fill the blank area
on the right side with a correlated tile from the left side. Example
of correlations – 1. 1×2=2, 2×2=4, 2×4=8, 2. Square with dot on top
row and blank square at bottom, 3. 4 geometric shapes on top and 3
different at bottom, 5. Different mirror images 7. Rows 1, 2, 3 on
top becomes rows 2, 3, 1 at bottom. Easter egg – a rock beside a
column will rise.
 9 9
Moving across the room, on the
opposite side of the professor’s desk are steps behind a white rock
that will lead to the second floor – CD 2.
Second
Floor
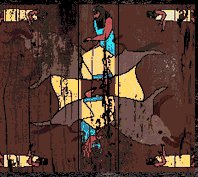
 Layers – The puzzle is Layers – The puzzle is
found by pulling a lever in the right hallway. The object of the
puzzle is to arrange the picture in an overlapping manner that
produces symmetrical lines on the picture. Click/hold moves the
pieces and clicking on each corner rotates the pieces. Easter egg –
at the left hallway, the pestle on a mortar moves. The lever on the
left side has no noticeable use.
 Mazes Mazes
(numerical) – The object of the puzzle is to reach from the
upper left start to the upper right exit. The vertical or horizontal
square moves depend on the number of triangles on the square you are
on. As in other mazes, going from the end and moving backwards to
the start might give a better perspective to the puzzle.
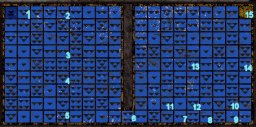
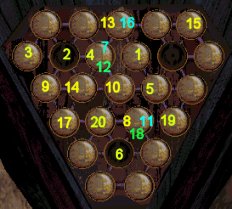
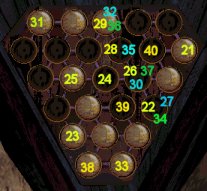
 Solitaire – The object of the game is to remove all Solitaire – The object of the game is to remove all
the balls except one by jumping over another ball. Click/hold to
move the balls. There are several ways to solve this puzzle. Here is
an example – move ball in slot 1 to end in slot
40.
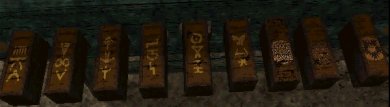
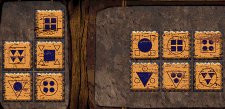
 Memory – The object of the puzzle is to Memory – The object of the puzzle is to
match symbols on the balls at the top row to the bottom row. There
are 10 changes of symbols of both top and bottom row. The left set
of white pegs cycles the top row and the right set of pegs cycles
the bottom balls. The best way is to write down the symbols by
cycling the balls and then matching them. In the table below, the
symbols are replaced by letters. Easter egg – a jug will pour an
igniter to make a bonfire.
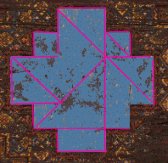
 Dissection – This is a simple Tangram puzzle. The Dissection – This is a simple Tangram puzzle. The
object of the puzzle is to fit the pieces in the prescribed area.
Easter egg – left green bust winks.
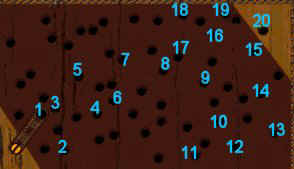
 Maze – The object of the puzzle is to move the flat Maze – The object of the puzzle is to move the flat
stick from the left bottom start area to the top right end area.
Click on the gold slotted screw head to position/slide the pivot,
then click on empty hole on the stick to move the stick on all
possible pivot areas.
Click on the bottom of the
table to reveal clues for first floor Arithmetic puzzle and third
floor Runes puzzle .
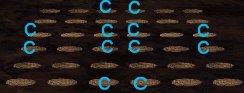
 Adjacency – The object of the puzzle is to have all Adjacency – The object of the puzzle is to have all
the buttons pressed down. Determine which buttons are affected by
clicking/pressing on a button. The buttons that go down are
symmetrical and what one quadrant does is applicable to the other
quadrants. In the solution below, click (C) on the specified
buttons.
 Rotating Rotating
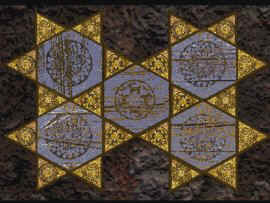
Stars – The object of the puzzle is to place the 6 blue
spotted points/moon signs around the center pattern, 2 earth emblems
(donut-like) on the left points and 2 sun emblems (spider web-like)
on the right points. The emblems are found in the journal. Each
pattern’s points can be rotated clockwise -C (click on right or top
of center) and counterclockwise – CC (click on left or bottom of
center). There are several ways to do this puzzle, here is one.
Easter egg – at the center of the room is an animated shell
game.
A ladder on the wall
beside Adjacency puzzle will lead to the third floor – CD
3.
|
 5
5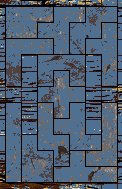 6
6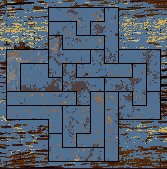
 1
1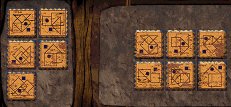
 3
3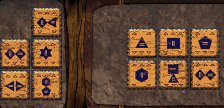
 5
5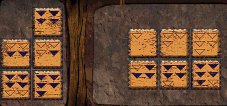
 7
7