Atlantis III: The New World Walkthrough by Bert Jamin, part 2 of 4
Atlantis 3, The New
World
Chapter two, The Snowy World
Click on one of these images to go to that part of my
walkthrough
Or click on the image at the bottom of this page to go to the next part
Look to the left and take a closer look at the image on the pillar. Leave it
alone for now but remember it’s here. Go through the opened membrane and exit
the cave. Look to the right and see that the Targui is captured. One of the
guards is pointing his gun on him. Walk towards him and you’ll meet the nasty
archeologist.
He starts a long story about a crystal skull. You’ll follow him inside. He is
very surprised by the fact that you’ve opened the membrane. He never managed to
open it. He is convinced of the magical power of the crystal skull. He tries out
his skills and… nothing happens! Because you’ve managed to open the membrane
he asks you to give it a try. Before you do so, talk to the archeologist and ask
him about everything you can. After that talk to the guard. You can also try to
escape via the opened membrane. Pick the crystal skull and… now something weird
does happen! You are sucked into the skull and your real adventure begins.
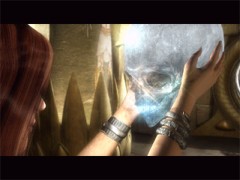
You’ll meet this one a few more times
When you arrive into the skull, you’ll
see all kind of floating balls and several pathways. Look around and you’ll see
a little bit to the right another path with three of these floating balls.
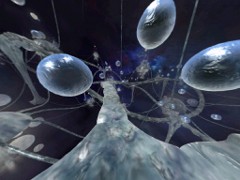
Go forward one time
Go one step forward via that path. A black dolphin comes swimming from the
distance. Talk to that black dolphin. She tells you that you have to seek the
corridors. She tells you to start with the first door to the left and than the
third door to the right. You can also question her about some other things if
you like. Now you have to find the floating balls with corridors! Turn around so
your back is facing the dolphin. Go forward one time and than climb up the path
at your left. Look around and you’ll see several floating balls with apparently
corridors inside of them. Click on one of those floating balls. It doesn’t
matter which one you choose.
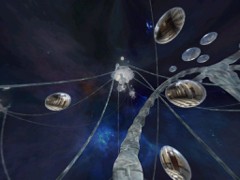
The floating balls with corridors
As the dolphin told you to do enter the
first door at the left side of the corridor. When you entered that door, you are
standing in exact the same kind of corridor. Now go through the third door at
the right side of the corridor. Odd… the same kind of corridor again! Turn
around so your back is facing the wall with the clock. Exit through the door you
are facing now. Now you’ll be back in the crystal skull. Head back for the black
dolphin. Look around and you’ll see a floating ball with something in it that
looks like a camera. Click on that ball to go back to the room with the membrane.
The archeologist is awaiting you with another speech.
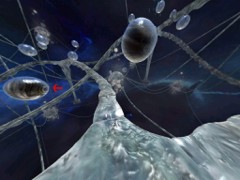
The floating ball to go back
When he has left, look around and face the figure on the
pillar once more. Now click on that figure. This time he comes alive. When he’s
set free, talk to him. He’ll ask what lies behind the corridor. If you did the
trick with the corridors correct, you’ll know the correct answer to his question.
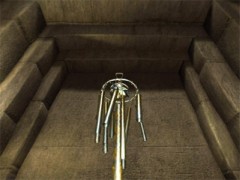
When he’s back in his previous shape, look around. At the other end of this room
you’ll see a wind chime hanging from the ceiling.
The wind chime
Walk to the wind chime and hit it. In return you’ll get a remote control. With
this remote control you can travel to several continents by pushing one of the
triangular images. When you push the upper image, the glass will break. If you
don’t believe me, just give it a try. So we’ll start with the image at the right.
When you click that image, you’ll see one wall the room disappear. Outside there
is a kind of snow storm. Step outside into the freezing snowy land. After a very
short time you and your mate will be hunted by a huge mammoth. Your mate tries to
stop it by throwing his spear, but with this kind of animal the spear isn’t much
more than just a toothpick… You have to run for your life! Thank goodness the mammoth will be stopped by a
barrier. But until this mammoth has gone, the both of you are stuck in that cave.
And the only way to get unstucked is to get rid of that animal. So… lets do
some investigation and enter the cave until you uhhh… arrive at the very
bottom of the cave and you raised from yourself!? You’ll see what I mean by this!
Go straight ahead and walk via the small bridge across the water into the
next cave. In the middle of the cave you’ll see some kind of stone tablet with
the image of a figure lying on the ground. Hey, isn’t that you??? Notice the
different images at the head and at the foot of the tablet. For now you don’t
know what these images are for, but sooner or later you’ll find out. Look around
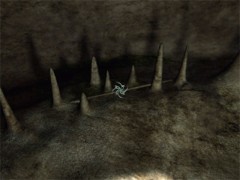
and pick up the spear. In case you didn’t notice, along the wall you see four
different kind of animals gallop. Throw your spear once to get it in your
inventory. Leave the cattle alone for the moment and exit this
cave.
The spear
When you’re standing close to yourself
again, go straight ahead and head for the next cave. By the way if you
end up at the entrance of the cave near your mate, just turn around and go back
into the cave. When you enter the next cave, keep on walking until you can’t go
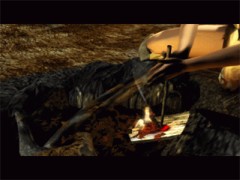
any further. Look down. On the floor you’ll see a piece of wood with a hole in
it. Of course this hole has a meaning. So get your stick from your inventory and
use it on the hole, to make an old-fashioned campfire.
Old fashioned campfire
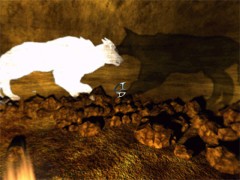
Look around and you’ll see some black
wolves and one white wolf. Your goal is to get rid of the black ones. This
really is a piece of cake. Click on one of the black wolves so it starts
fighting with the other black wolf. Each time one of the black wolves wins and
the loser disappears. Repeat this until only one black wolf remains as the
winner. As soon as this one has beaten his last opponent, push the white wolf.
It will beat the last black wolf. That’s all it takes!
The last battle
When the white wolf has beaten the
black one, it suddenly appears in real 3D and simply disappears through the wall
of the cave. Simply go after him through the same wall of the cave.
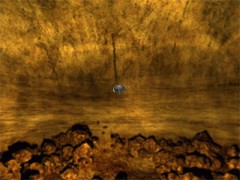
Just walk through this wall
Now you arrive at a strange island.
Look around to enjoy the breathtaking view. In the distance you’ll see some
Schizm like floating structure. Your goal is to reach that floating structure at
one piece. Although you have to beat some murderous animals and take a few
obstacles on your way, it can be done!
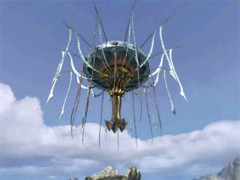
Your destiny
Go forward once and pick up the
tree-stump at your left. Walk forward until you reach the tree at the end of your
path. Place the tree-stump at the roots of the tree. Climb into the tree. When
you arrive at the opposite side pick up the stone at your left.
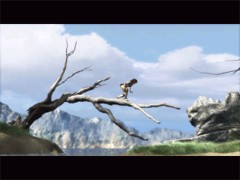
Nice trick
Walk forward until your passage is
blocked by a big tiger. Wait until the tiger is about halfway behind the stone
wall. Then quickly throw your stone at the tiger. When your timing has been
perfect, the tiger jumps over the wall and ends in the quicksand. However if
your timing hasn’t been that good, the tiger will get you and you have to try
again.
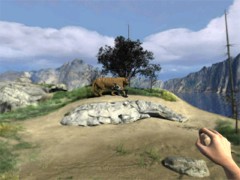
The right moment
When the tiger has gone, pick up the
big branch at your right. Be careful of the quicksand! Pass the quicksand at the
left side and go forward. If you pass at the right side, you’ll disappear into
the quicksand as well… Use the big branch on the boulder. Go forward. At the
right side at the end of the path you’ll see the white wolf. Leave him or her
alone for now. Just remember that you find him here. Go via the rocky path
further straight ahead. When you cross the rocky passage, you’ll see a brown
bear in the distance. Leave it alone! Turn to the left and you’ll see a black
wolf. Now quickly turn around and hurry to the white wolf. He or she will beat
the black wolf. Now head back to where the black wolf has been. Turn to the left
and pick up the long stick.
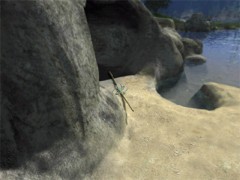
The long stick, guarded by the black wolf
Go via the sandy path further. By
taking this way, you avoid the brown bear. When you can’t go further, use the
long stick on the rocks to go to the opposite side. Walk straight ahead until you reach the
water and the big tree-stump in the water. Use the stump to go to the rock in
the water.
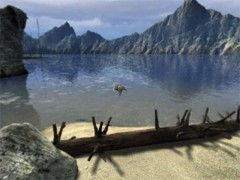
Go straight ahead to wind up on the tree stump
Turn to the left and climb up the path
all the way to the top. When you can’t go any further, look up to see the
floating structure. Click on the structure to rise to the structure
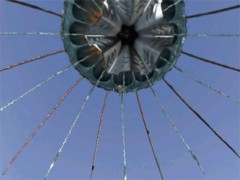
Just click to rise
Look around and you’ll see a small room
with another crystal skull. Enter that room. Pick up the item that’s next to the
skull. It turns out to be a spear thrower. Pick up the skull. Find the black dolphin
once more. Talk to her and she tells you that the spear thrower will kill
the mammoth. She also tells you that you have to enter the fourth door at the
left and the third door at the left. Look at the left and click on the floating
ball to return to the floating structure. Exit the structure by using the center
hatch of the room. Walk all the way down. When you arrive downstairs you’ll find
out that your floating tree stump has gone! Now you’re stuck here forever!? Turn
around and go one step up. Look at your left and notice an image of the white
wolf on the rock. Push the image and you’re back in the cave with the campfire.
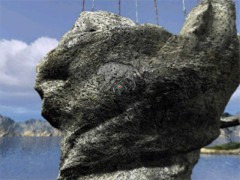
The image of the white wolf
Go back to the cave with the galloping
cattle. I’m very sorry to tell you this, but you have to kill all the animals by
throwing your spear. You’ll get the best result by good aiming and good timing.
Every time you hit an animal, it will disappear from the wall and you’ll get a
heart. Your goal is to hunt them down all and to get four different hearts, a
fire heart, an earth heart, an air heart and a water heart. When you take a very
close look, you’ll discover that every heart contains another image. The best
way is to look at the hearts in a dark background.
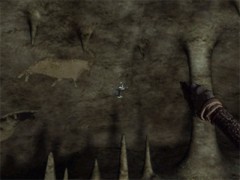
A matter of timing, luck and patience
Now have another look at the stone
tablet with the lying figure in the center of the cave. Look at all images on
every corner of the tablet. Notice that these four images are corresponding with
the images inside the four hearts. This can’t be a coincidence… You’ll see
that the left image at the top of the tablet corresponds with the image of the
water heart and the right one with the image of the air heart. The left image at
the foot corresponds with the image in the earth heart and the right one with
the image in the fire heart. With this knowledge go back to your mortal remains.
Place the four hearts on the correct spots.
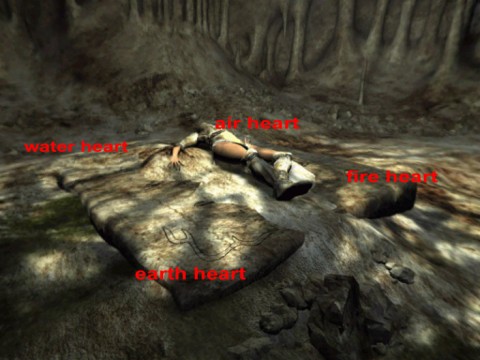
The correct spots for the hearts
If you placed them well, you’ll regain
life. Now walk back to the snow covered entrance of the cave. You hand over the
spear thrower to your mate. He will hunt down the mammoth this time. I think this
is a little bit violent chapter… It’s good it’s just a game:-) You’ll return
to the room with the pillars.
Click on the image below
to go to the next part Bagdad…
View this guide raw, exactly as the archive holds it
Parts of this guide
One guide by Bert Jamin, in 4 parts. They read in order, and the part you are on is marked.