The Legend of Skye Walkthrough
Finding the diplodexus tooth
We will head towards the gnome village that the shaman has marked for us on the map. Once there, we will talk to the gnomes to tell us where the mines are and to give us a packet of sugar. We must also not forget to take the lemon and the cotton thread.
We will use hallucinogenic mushrooms to put the dog to sleep and thus catch the pieces of raw meat.

Once we reach the mountain pass, we will first take the path to the left. There we will find a giant termite nest. We have to squeeze the lemon in the ditch that is in the middle of the road. This way when the termites come out they won’t eat us.
Once this is done, we can leave the fish on top of the flat rock so that the termites can eat it, so we can recover the clam. Then, we have to throw the clam into the pan of the chief druid’s house to open it, and get the pearl hidden inside.
We don’t have to forget to pick up the twig from the ground before leaving this stage.

If we continue along the same path, we will reach the entrance to the diplodexus cave. There we will find a guard who will not let us pass. It is important that we collect the bone that is on the ground, in front of the cave.

Before returning to the gnome camp, we should take the other path of the mountain pass to reach the mines. There we can open a wooden box with the poker and collect some fuses and a stick of dynamite. The entrance to the mine is blocked with an armored door and Skye will tell us that we have to ask the gnomes in the town.

When we return to the gnome village we will have to ask them where the key to the locked mine is located. They will tell us that a gnome who is now petrified had it.
We will also have to use the bone with the woodpecker to obtain an improvised flute.
Then, we can head towards the druid village, until we reach the chief druid’s house again. There we will light the fuses with fire and head towards the entrance of the shaman’s house, where the stone gnomes are. It is important to keep in mind that we will have to keep the fuses lit. When one of them is about to turn off we will have to turn on another.
When we get in front of the stone gnome who has the key, we will have to put the stick of dynamite in his mouth and use the lit fuses. This way we will break it and get the key and an achievement.


With the newly recovered key, we can head towards the mine and open the armored door. We’ll have to pour the sugary drink into the hole. Then we have to combine the cotton thread with the sugar and the twig. We will put the sugared thread into the hole to obtain the sugar crystals.
After doing this, we can return to the entrance to the diplodexus cave.

Once at the entrance to the cave, we will use the flute to confuse the sentinel gnome so that he leaves his post. If we decide to enter the cave and walk through the mud, we will awaken the beast and it will petrify us.

Instead, we have to pick up the spear that the gnome sentinel has thrown to the ground. In the rocks of the wall there is a hole hidden under a cover. We will open that cover, insert the spear into the hole and pull it. In this way, metal stairs will descend that will allow us to climb to the top of the mountain.

At the top we will find another gnome. He will ask us for a valuable gem or stone to let us go down the wooden elevator. We will deliver the sugar crystals to him. But we don’t need to use the elevator yet.
We will hang a piece of raw meat to the funnel that the gnome has on his head. After a few moments, the vulture will grab the meat and the funnel and take it away.
In this scenario we will also take a toad from inside the wooden box.
During the return trip, we will realize that the funnel has fallen on top of the termite mound. To catch it we will have to leave the raw meat on the flat rock in front, this way the termites will come out. This way we can recover the funnel.
Then we will head to the cave with the gas leak. We will introduce the funnel into the toad’s mouth. We will use the toad with the funnel to inflate it with methane gas.
Once this is done, we will return to the diplodexus cave, descending with the elevator.
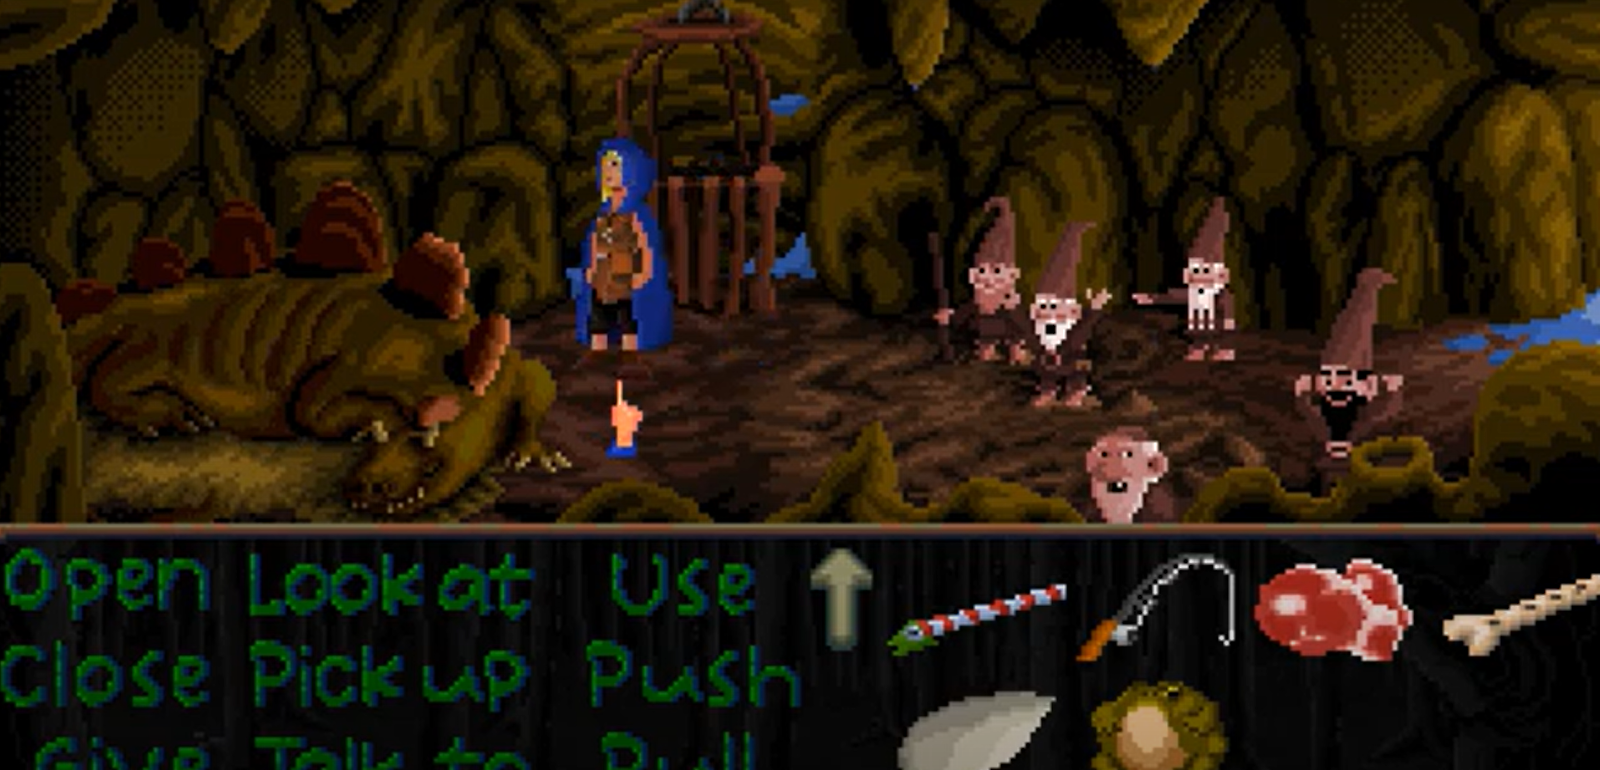
We will deliver the toad full of methane gas to the diplodexus. He will eat it instantly. Then we will use the tip of the spear to scratch the plates of the diplodexus and set it on fire. When the diplodexus blows it will cause an explosion and a tooth will pop out.

We should already have the three ingredients, so we will return to the shaman and give him the three objects. He will perform a ritual and locate Malgrim’s tower. Then he will give us a stone ring.
Part VI. The tower of Malgrim.
The riddle of the menhirs
The first thing is to insert the stone ring into the hole of the large menhir. We will have to rotate the ring a couple of times until it is properly positioned. After doing this, some marks on the menhir will light up in a specific order and with a sound that distinguishes each one of them.

Then we will have to push some protuberances on the menhirs below, in the correct order, to replicate the same sounds.
The menhirs are numbered from left to right from 1 to 5, the order to press them is as follows: 3-4-3-3-1-2-5

Once this is done, the tower will appear before us, which until now was invisible.

Malgrim’s Tower
At the entrance to the tower we will first talk to the spirit of the forest. To access the interior we will simply have to remove the stone that blocks the door.
Once inside, the first thing we will do is take the muzzle and remove the carpet to access the lower floor.

On the lower floor we will take the rope. We can also take the pot and put it inside the fireplace. It is not necessary to pick the nuts.
Once this is done, we will go up to the floor where the tree trunks are cut. On that floor we can take the tweezers. We can also tie the rope to the trunk and the gargoyle. We will go up to the next floor.

The next floor is Malgrim’s room. Here we have to take the candle and the comb that is on top of the bed.
With the fishing rod we can try to get the key that is inside the fish tank. But unfortunately it will fall to the ground, under the wooden planks.
We will use the flute to make the mouse that is hiding in a hole in the wall come out. We will use the muzzle on the mouse, as if it were a harness. Then with the tweezers and comb, we will tie an improvised rake to the mouse.
We will use the mouse with the improvised rake to get it into the hole and recover the key. We will have to call him back using the flute again.

Before continuing up the tower, we can return to the lower floor and put the candle inside the pot. This way we will be able to melt it and obtain liquid wax. We will use this wax on the trunk tied to the rope. This way we can push it and throw it out the window. When it falls, it will tear the gargoyle off the wall.
Then we will only have to return to the entrance of the tower to take the metal gutter that was inside the gargoyle.
With the gutter and the key, we can go to the floor of the tower where the sawdust deposit is located. We will use the key to open the lock, and the metal gutter to channel the sawdust from the tank to the hole.

While the sawdust is falling through the hole, we have a few seconds before it reaches the bonfire and causes an earthquake in the keep. We will have to quickly climb to the roof where Malgrim is. Once there, during the earthquake, we will use the poker to throw Malgrim through the hole.

If we have kept the pink float this far, we can deliver it to Malgrim before throwing it down the hole.

After some scenes where they will tell us the end of the game, we will appear in a girl’s room. We have to pick up and look at a video game that is on the shelf. In this way we will be shown a new game and the latest achievement.

